Cutting Board Decor: Transform a utilitarian kitchen essential into a stunning work of art. This guide explores the diverse world of cutting board decoration, from rustic charm to modern minimalism. We’ll delve into various techniques, materials, and design inspirations, empowering you to create unique pieces that reflect your personal style and enhance your kitchen’s aesthetic. Learn how to choose the right materials for food safety and durability, master decorative techniques like painting, resin art, and pyrography, and discover trending designs to inspire your next project.
Whether you’re a seasoned DIY enthusiast or a beginner looking to personalize your kitchen, this comprehensive guide provides step-by-step instructions, practical tips, and stunning visual examples to help you create breathtaking cutting board decorations. We’ll cover everything from preparing your cutting board for decoration to safely sealing your finished masterpiece, ensuring your creation is both beautiful and functional.
Types of Cutting Board Decor
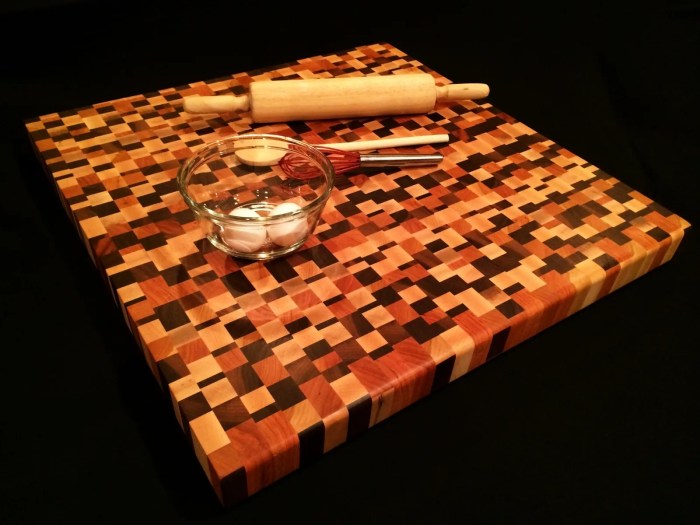
Cutting boards, traditionally functional kitchen tools, have evolved into stylish décor pieces. Their inherent versatility allows for a wide range of decorative styles, transforming them from simple utensils into personalized kitchen accents. This exploration delves into various cutting board decoration styles, highlighting the materials and techniques used to achieve unique and aesthetically pleasing results.
Rustic Cutting Board Decoration
Rustic cutting boards evoke a sense of warmth and natural charm. They often feature natural wood grains, visible knots, and a slightly distressed appearance. Materials commonly used include reclaimed wood, such as barn wood or pallet wood, which adds to their character. Techniques might include simple oil finishes to enhance the wood’s natural beauty, or the addition of subtle branding or laser-etched designs.
The overall aesthetic aims for a comfortable, lived-in feel. An example could be a cutting board made from reclaimed oak, finished with a food-safe mineral oil, and subtly branded with a family name or a simple, rustic design.
Modern Cutting Board Decoration
Modern cutting board designs prioritize clean lines, geometric patterns, and a minimalist approach. Materials like bamboo, maple, or even high-quality resin are frequently employed. Techniques may include precise laser cutting for intricate geometric patterns, or the use of contrasting wood species to create striking visual effects. Epoxy resin is often incorporated to create bold, colorful accents or to encapsulate decorative elements.
A cutting board featuring sleek, black epoxy resin inlay within a light-colored bamboo surface exemplifies this style. The clean lines and contrast create a sophisticated and contemporary look.
Minimalist Cutting Board Decoration
Minimalist cutting boards emphasize simplicity and functionality. The focus is on the natural beauty of the wood itself, with minimal or no added embellishments. Materials are typically high-quality hardwoods like walnut or cherry, chosen for their rich color and grain patterns. Techniques are limited to simple oil finishes or a clear coat to protect the wood. Any added design elements are kept extremely subtle, such as a barely visible laser-etched logo or a single, understated inlay.
A cutting board made from a single piece of richly grained walnut, finished with a food-safe oil, perfectly embodies this style.
Bohemian Cutting Board Decoration
Bohemian cutting boards showcase a free-spirited and eclectic style. They often incorporate a variety of materials and textures, creating a visually interesting and layered look. Materials might include wood combined with mosaic tiles, metallic accents, or painted designs. Techniques include hand-painting vibrant patterns, applying decoupage, or incorporating mixed media elements like shells or beads. A cutting board adorned with hand-painted floral designs and inlaid ceramic tiles, showcasing a vibrant mix of colors and textures, is representative of this style.
Unique Cutting Board Decoration Ideas
The following table Artikels five unique cutting board decoration ideas, specifying the materials and techniques involved.
| Style | Materials | Techniques | Image Description |
|---|---|---|---|
| Personalized Monogram | Walnut wood, food-safe paint | Hand-painted monogram, clear coat finish | A rich walnut cutting board featuring a hand-painted gold monogram in an elegant script font, sealed with a clear coat for protection. The contrast between the dark wood and the gold paint creates a sophisticated and personalized touch. |
| Geometric Mosaic | Bamboo, colored epoxy resin, tile | Epoxy resin inlay with colored tile creating geometric pattern | A bamboo cutting board featuring a geometric mosaic pattern created by inlaying colored epoxy resin and small ceramic tiles. The clean lines and vibrant colors create a modern and eye-catching design. |
| Nature-Inspired Etching | Maple wood | Laser etching of leaf or floral design | A light maple cutting board with a delicate laser-etched design of leaves or flowers. The intricate detail of the etching is highlighted by the light wood, creating a subtle yet elegant design. |
| Coastal Theme | Reclaimed driftwood, seashells | Inlay of seashells into the driftwood | A rustic cutting board made from reclaimed driftwood with various sized and colored seashells artfully inlaid into the wood. The natural textures and colors create a charming coastal feel. |
| Abstract Resin Art | Wood, epoxy resin, metallic pigments | Pouring epoxy resin with metallic pigments to create an abstract design | A cutting board with a base of dark stained wood, topped with a layer of poured epoxy resin containing metallic gold and silver pigments. The resin creates an abstract, swirling pattern with a luxurious, modern feel. |
Materials and Techniques
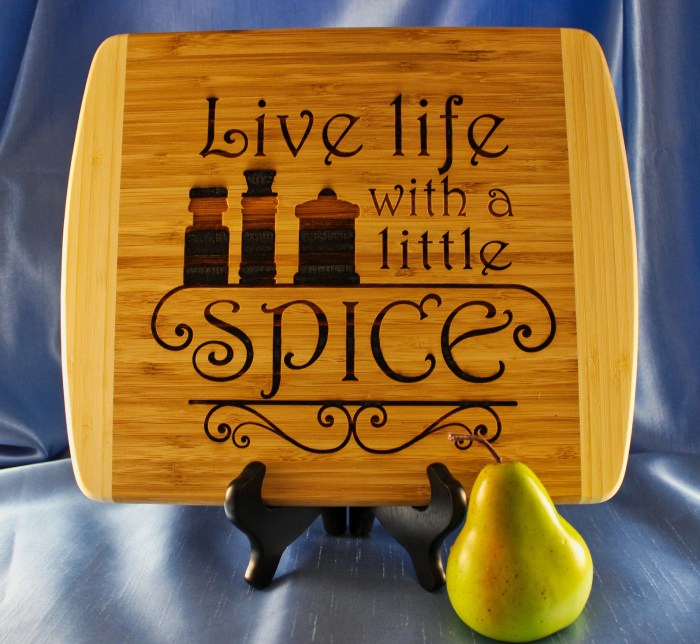
Decorating cutting boards involves a careful selection of materials and techniques to ensure both aesthetic appeal and functionality. The chosen materials must be durable enough to withstand regular use, food-safe to prevent contamination, and aesthetically pleasing to enhance the kitchen’s décor. The techniques employed should complement the chosen materials and create a lasting, beautiful design.
Wood Types for Cutting Board Decoration
The choice of wood significantly impacts the final look and durability of a decorated cutting board. Hardwoods like maple, cherry, and walnut are popular choices due to their density, which resists scratches and wear. These woods also offer beautiful natural grain patterns that can be enhanced or subtly altered through decorative techniques. Softer woods, such as pine or balsa, are easier to carve but are less durable and more susceptible to damage.
End-grain cutting boards, often made from hardwoods like maple or beech, provide superior durability but require specialized techniques for decoration due to their unique construction. The natural color and grain of the wood can serve as a beautiful backdrop for further decoration or be the focal point of a minimalist design.
Paints and Their Application on Cutting Boards
Paints offer a wide range of colors and finishes for decorating cutting boards. However, not all paints are suitable for use on surfaces that come into contact with food. Food-safe paints, specifically designed for this purpose, are crucial to ensure safety. These paints are usually water-based acrylics or specifically formulated epoxy paints. Oil-based paints should be avoided due to their potential to leach into food.
Acrylic paints provide vibrant colors and are relatively easy to apply, while epoxy paints offer a durable, hard-wearing finish that is resistant to moisture and scratches. The application technique, including the number of coats and drying time, significantly impacts the final result and the durability of the painted design.
Resins and Their Use in Cutting Board Decoration
Epoxy resins are increasingly popular for creating stunning, three-dimensional effects on cutting boards. They can be mixed with pigments to achieve a wide variety of colors and can be poured over the surface to create a smooth, glossy finish. Resin art can incorporate embedded objects like flowers, leaves, or glitter, adding depth and texture to the design. The key to successful resin application is meticulous preparation of the cutting board surface to ensure a smooth, even pour.
Proper ventilation is also essential during the curing process, as some resins emit fumes. While offering a durable and visually striking finish, resin applications require careful handling and adherence to safety precautions due to the chemical nature of the materials.
Etching Techniques for Cutting Boards
Etching involves removing a thin layer of wood to create a design. This can be achieved using various tools, from specialized etching tools to hand-carving techniques. Etching allows for the creation of intricate designs that highlight the wood’s natural grain. The depth of the etching determines the contrast between the etched area and the surrounding wood. This technique is best suited for hardwoods, as softer woods are more prone to damage.
While offering a unique aesthetic, etching requires skill and precision to avoid damaging the cutting board.
Decoupage and Pyrography: Alternative Decorative Methods
Decoupage involves adhering decorative paper or fabric to the cutting board surface, sealing it with several coats of varnish or resin for protection. This technique allows for the incorporation of intricate patterns and images. However, the durability depends heavily on the quality of the sealant and the chosen paper or fabric. Pyrography, also known as wood burning, uses a heated tool to create designs by burning the wood’s surface.
This technique allows for a wide range of effects, from delicate lines to bold shading. The resulting design is permanent and durable but requires practice and skill to achieve desired results.
Step-by-Step Resin Art Application on a Cutting Board
Before applying any resin, proper preparation is crucial. This involves sanding the cutting board to a smooth finish, cleaning it thoroughly, and applying a food-safe sealant.
- Step 1: Prepare the Cutting Board: Sand the surface until smooth, clean thoroughly with a food-safe cleaner, and apply a food-safe sealant.
- Step 2: Mix the Resin: Follow the manufacturer’s instructions carefully when mixing the resin and hardener. Ensure a thorough and even mix to avoid inconsistencies in the final product.
- Step 3: Apply the Resin: Pour the resin onto the prepared surface, spreading it evenly to avoid air bubbles. Use a heat gun or torch to gently pop any bubbles that may form.
- Step 4: Add Embellishments (Optional): Carefully incorporate any desired embellishments, such as dried flowers or metallic pigments, into the wet resin.
- Step 5: Cure the Resin: Allow the resin to cure completely according to the manufacturer’s instructions. This usually takes several days.
- Step 6: Final Polish (Optional): Once cured, lightly sand and polish the surface to achieve a high-gloss finish.
Design Inspiration and Trends
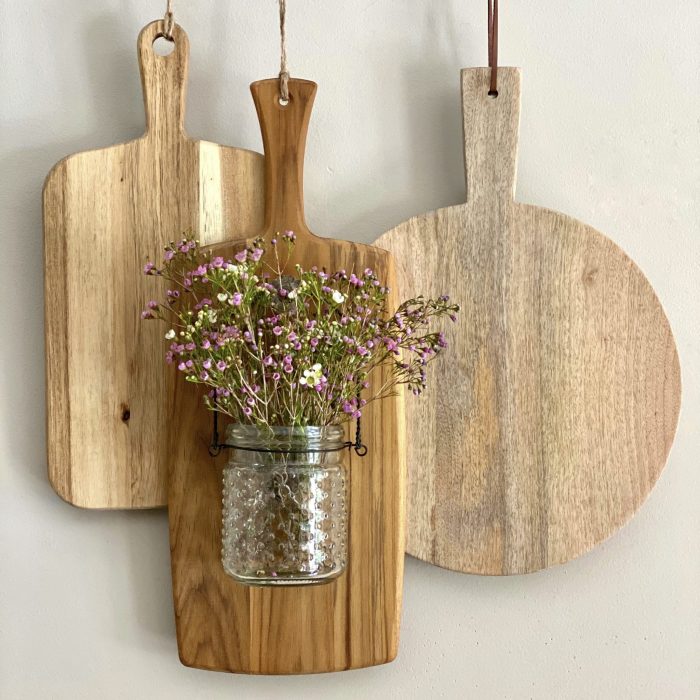
Cutting board decoration reflects broader home décor trends, evolving with shifts in popular aesthetics and color palettes. Social media platforms like Pinterest and Instagram, along with home décor blogs, offer a wealth of inspiration, showcasing diverse styles and techniques. Understanding these trends allows for the creation of cutting boards that are not only functional but also visually appealing and complementary to the overall kitchen design.Current trends in cutting board decoration emphasize natural materials, personalized designs, and a move away from overly ornate styles.
Minimalist designs, geometric patterns, and the incorporation of natural elements like wood grain and subtle color variations are highly popular. The influence of specific design aesthetics is clearly visible, shaping the choices of materials, colors, and decorative techniques.
Design Aesthetics and Their Influence, Cutting Board Decor
Farmhouse, Scandinavian, and industrial styles significantly influence cutting board decoration. Farmhouse style often features rustic wood, distressed finishes, and simple, often hand-painted designs, such as floral motifs or script lettering. Scandinavian designs prioritize clean lines, natural materials like light-colored wood and marble, and a muted color palette, typically featuring subtle patterns or minimalist engravings. Industrial styles incorporate metallic accents, dark wood tones, and bold geometric patterns, often employing techniques like laser etching or metal inlays.
These styles inform the overall aesthetic and choice of materials used in creating decorative cutting boards.
Cutting Board Decoration and Kitchen Styles
The decoration of a cutting board should complement the existing kitchen style and color palette. A rustic farmhouse kitchen might feature a cutting board with a distressed wood finish and a hand-painted floral design, while a modern minimalist kitchen would be better suited to a sleek cutting board with a simple geometric pattern or a clean, unadorned surface. A brightly colored cutting board might clash with a neutral-toned kitchen, whereas a muted-toned board could enhance a vibrant kitchen’s aesthetic.
Careful consideration of the existing kitchen design is crucial for creating a cohesive and visually appealing space.
Cutting Board Decoration Concepts
The following three concepts illustrate current trends in cutting board decoration:
- Concept 1: Minimalist Geometric Design: This cutting board uses a light-colored maple wood as a base. A laser-etched geometric pattern in a subtle charcoal grey is incorporated, providing a clean, modern look. The overall aesthetic is minimalist and sophisticated, suitable for a contemporary or Scandinavian-style kitchen.
- Concept 2: Rustic Farmhouse Charm: This cutting board uses reclaimed barn wood with a distressed finish. A simple floral design is hand-painted using chalk paint in muted pastel colors (pale pink, lavender, and light green). The overall aesthetic is rustic and charming, suitable for a farmhouse-style kitchen.
- Concept 3: Industrial Chic: This cutting board utilizes a dark walnut wood as the base. A bold geometric pattern is created using inlaid metal strips in a brushed steel finish. The contrast between the dark wood and the metallic accents creates a visually striking effect, suitable for an industrial or modern kitchen with metallic accents.
Practical Considerations and Safety: Cutting Board Decor
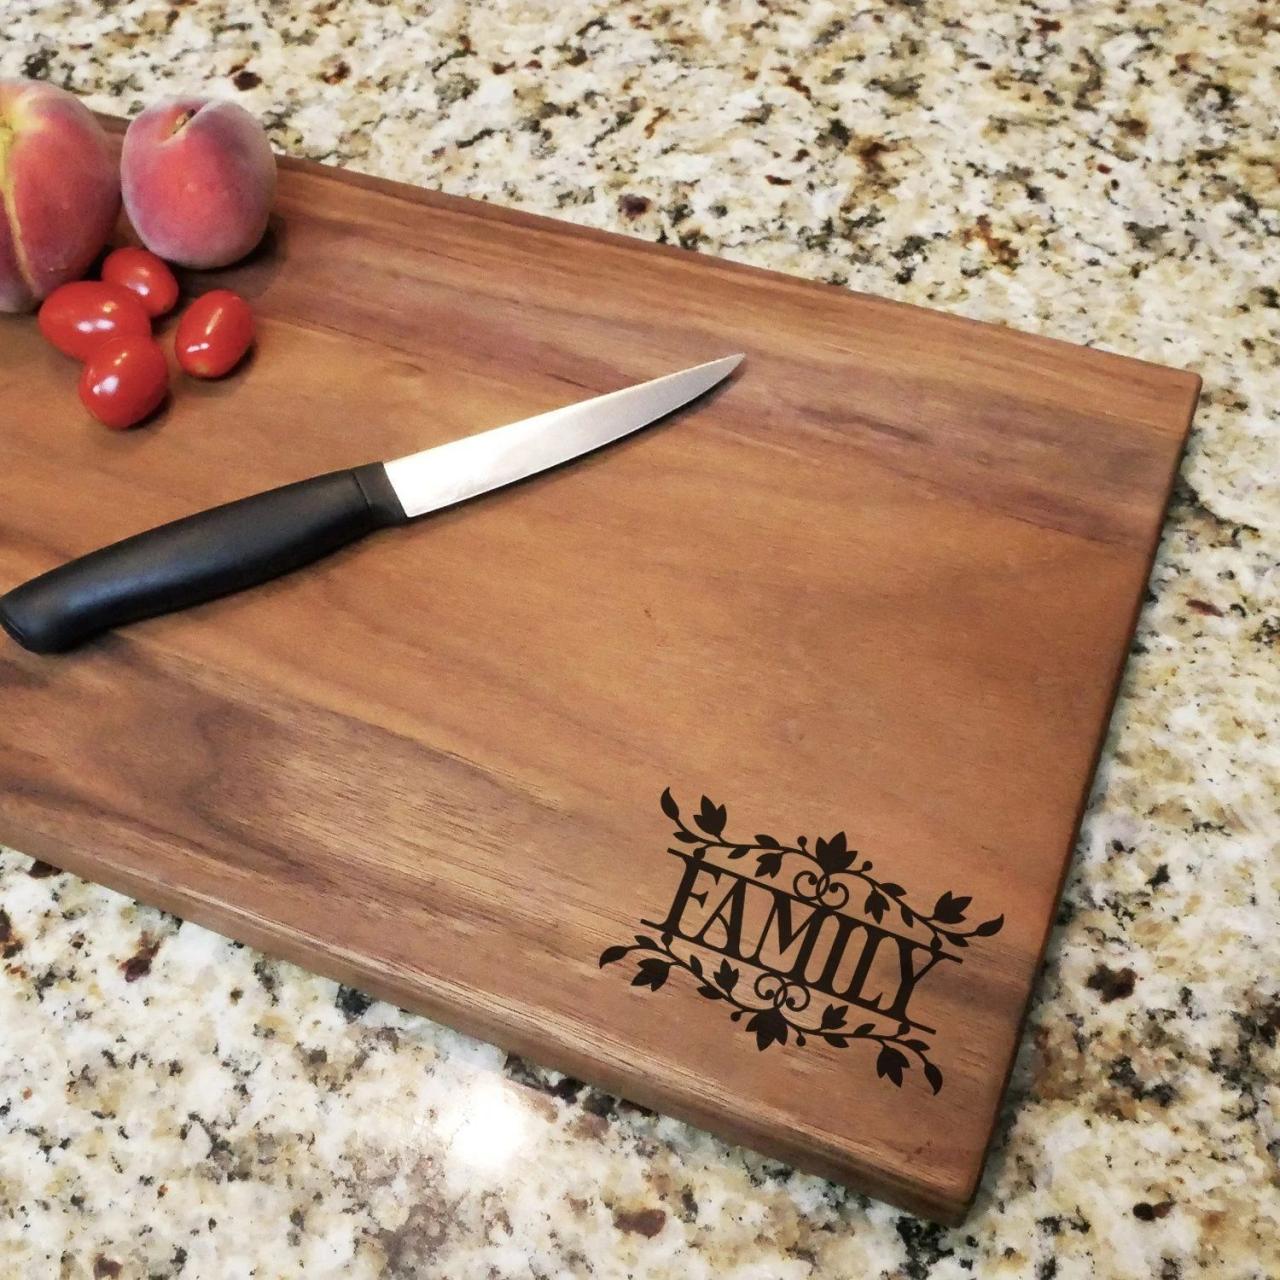
Decorating cutting boards adds a personal touch to your kitchen, but it’s crucial to prioritize safety and maintain hygiene. Improper preparation and sealing can compromise the integrity of the board, leading to bacterial growth and potential food contamination. This section details essential steps to ensure your decorated cutting board remains both aesthetically pleasing and safe for food preparation.
Preparing the Cutting Board for Decoration
Thorough cleaning is paramount before beginning any decoration. Start by washing the cutting board with hot, soapy water, paying close attention to grooves and crevices. A stiff brush can help remove stubborn debris. Following the initial wash, sanitize the board using a solution of bleach and water (one tablespoon of bleach per gallon of water), ensuring complete coverage.
Allow the board to air dry completely before proceeding with any decorative techniques. This preparation prevents the transfer of bacteria or other contaminants to the decorative materials and ultimately, your food. Skipping this crucial step can negate the benefits of a beautiful cutting board, potentially jeopardizing food safety.
Sealing Decorated Cutting Boards
Sealing is essential for protecting your decorated cutting board from moisture and bacteria. A high-quality food-safe sealant creates a barrier, preventing the absorption of liquids and hindering bacterial growth. Apply several thin coats of sealant, allowing each coat to dry completely before applying the next. Follow the manufacturer’s instructions carefully, as drying times can vary depending on the sealant type and environmental conditions.
A properly sealed cutting board is more durable, easier to clean, and significantly safer for food preparation. For instance, a mineral oil-based sealant provides a natural, food-safe finish, while polyurethane sealants offer a more durable, water-resistant barrier.
Food-Safe Materials and Finishes
Using food-safe materials is non-negotiable when decorating cutting boards. Avoid materials that could leach harmful chemicals into food, such as certain paints or varnishes. Opt for food-grade epoxy resins, non-toxic paints specifically designed for wood, or food-safe oils and waxes. Similarly, choose sealants explicitly labeled as food-safe. Always verify the manufacturer’s claims and ensure the materials meet relevant safety standards.
Using non-food-safe materials can lead to serious health risks, making it crucial to prioritize safety above all else. For example, a cutting board decorated with non-food-safe paint could release toxins into food during preparation.
Precautions When Using Different Decorating Materials and Techniques
The choice of decorating method dictates the necessary safety precautions. When using paints, ensure adequate ventilation to minimize inhalation of fumes. Wear protective gloves to prevent skin irritation or allergic reactions. For techniques involving heat, such as pyrography (wood burning), exercise caution to avoid burns. Always follow the manufacturer’s instructions for each material and technique.
For example, when using epoxy resin, work in a well-ventilated area and avoid skin contact. Always prioritize safety and use appropriate protective gear to prevent accidents and potential health issues.
Cutting Board Decor as a Gift
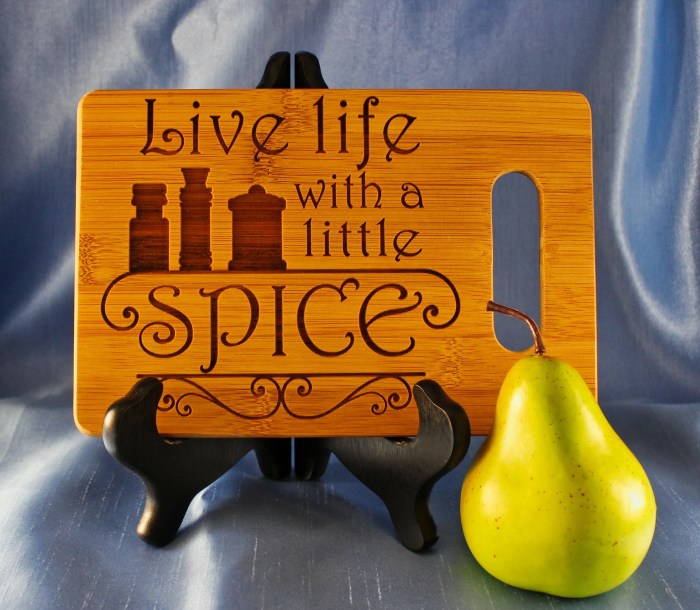
Giving a decorated cutting board as a gift offers a unique blend of practicality and personalized artistry. It’s a present that’s both useful in the kitchen and visually appealing, showcasing your thoughtfulness and creativity. The recipient will appreciate not only the functionality but also the bespoke design, making it a cherished item in their home.
Unique Gift-Wrapping Ideas for Decorated Cutting Boards
The presentation of a gift significantly impacts its perceived value. Choosing the right wrapping and presentation method elevates a decorated cutting board from a simple present to a memorable one. Here are three distinct approaches to consider:
- Rustic Charm: Wrap the cutting board in kraft paper, secured with twine. Add sprigs of dried herbs or flowers for a natural, earthy feel. A small handwritten tag with a personalized message completes the look. This evokes a sense of handcrafted warmth and simplicity, ideal for housewarming gifts or gifts for those who appreciate a rustic aesthetic.
- Elegant Presentation: Use a high-quality gift box slightly larger than the cutting board, lined with tissue paper. The cutting board can be nestled within, potentially with decorative fillers like shredded paper or wood shavings. A satin ribbon tied in a sophisticated bow adds a touch of luxury. This is perfect for wedding gifts or birthdays of those who appreciate refined elegance.
- Modern Minimalism: Wrap the cutting board in clear cellophane, allowing the design to be fully visible. Tie it with a simple, sleek ribbon in a complementary color. A minimalist, geometric-designed gift tag adds a modern touch. This suits a contemporary home and is ideal for housewarming or birthday gifts for someone with a modern design sensibility.
Personalized Cutting Board Decorations for Different Occasions
Personalizing the cutting board’s design for the specific occasion enhances its sentimental value. The design should reflect the event and the recipient’s personality.
- Weddings: Incorporate the couple’s names and wedding date, perhaps with a delicate floral design or a monogram. Subtle, elegant designs work best for this occasion.
- Housewarmings: A design that reflects the new home’s style – perhaps a cityscape for an urban dwelling or a nature scene for a countryside home – would be appropriate. A welcoming message adds a personal touch.
- Birthdays: The design could incorporate the recipient’s age, a favorite hobby, or a meaningful quote. Bright, cheerful colors and playful designs are suitable here.
Creating Custom Cutting Board Designs with Personalized Messages or Imagery
Custom designs allow for truly unique and meaningful gifts. Consider incorporating:
- Personalized Messages: Engraving, hand-painting, or using stencils are excellent methods for adding personalized messages. Short, meaningful quotes, inside jokes, or simple expressions of love work well.
- Imagery: Family photos, pet portraits, or illustrations of shared interests can be transferred onto the cutting board using techniques like decoupage or specialized printing methods.
Gift Ideas Organized in a Table
| Occasion | Design Idea | Materials | Presentation |
|---|---|---|---|
| Wedding | Couple’s monogram and wedding date, floral design | Wood, paint, engraving tools | Elegant gift box, satin ribbon, tissue paper |
| Housewarming | Cityscape or nature scene, “Welcome Home” message | Wood, paint, stencils | Rustic kraft paper wrapping, twine, dried flowers |
| Birthday | Recipient’s age, favorite hobby, meaningful quote | Wood, paint, decoupage materials | Clear cellophane, sleek ribbon, minimalist gift tag |
From rustic farmhouse chic to sleek modern designs, the possibilities for cutting board decoration are endless. By exploring different materials, techniques, and design inspirations, you can transform a simple cutting board into a unique statement piece that reflects your personal style and elevates your kitchen’s aesthetic. Remember to prioritize food safety and proper sealing techniques to ensure your creation remains both beautiful and functional for years to come.
So, unleash your creativity and embark on this exciting DIY journey – your beautifully decorated cutting board awaits!