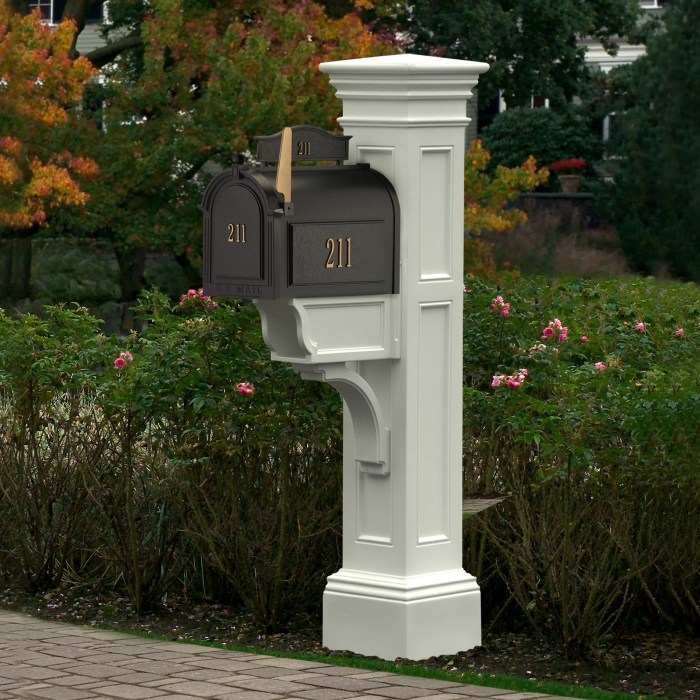
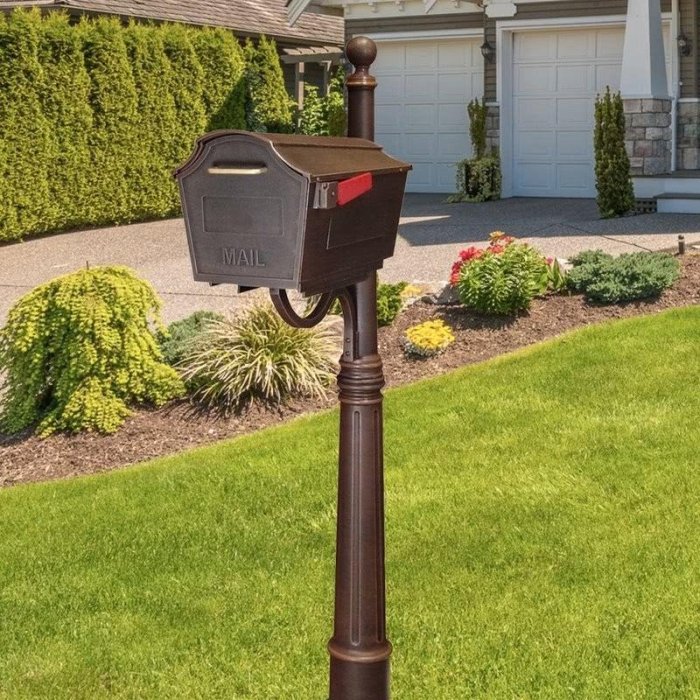
Decorative Mailbox Posts: Transform your home’s exterior from ordinary to extraordinary. This comprehensive guide delves into the artistry and practicality of crafting and installing visually stunning mailbox posts. We’ll explore diverse styles, from rustic charm to modern elegance, examining the materials, construction techniques, and landscaping integration crucial for creating a truly captivating entrance. Prepare to elevate your curb appeal with a mailbox post that reflects your unique style.
We’ll cover everything from choosing the perfect materials—wood, metal, or composite—to mastering the installation process, ensuring your new mailbox post stands strong and beautiful for years to come. We’ll also explore how to seamlessly integrate your post into your existing landscaping, enhancing its aesthetic impact and overall curb appeal. This guide provides a detailed, step-by-step approach to achieving a truly remarkable mailbox post.
Materials and Construction of Decorative Mailbox Posts

Choosing the right materials for your decorative mailbox post is crucial for both aesthetics and longevity. The material you select will impact the post’s durability, maintenance requirements, and overall cost. This section will explore the advantages and disadvantages of common materials, and detail the process of constructing a post from cedar wood.
Material Comparison: Wood, Metal, and Composite Mailbox Posts
The selection of materials significantly influences the lifespan, aesthetic appeal, and maintenance needs of a decorative mailbox post. The following table summarizes the pros and cons of popular choices:
| Material | Pros | Cons | Maintenance |
|---|---|---|---|
| Wood (Cedar, Redwood) | Natural beauty, relatively easy to work with, can be customized, readily available. | Susceptible to rot, insect damage, and weathering; requires regular maintenance (staining, sealing). | Regular sealing and staining every 1-3 years, depending on climate and exposure. |
| Metal (Aluminum, Steel) | Durable, weather-resistant, low maintenance, various finishes available. | Can rust (especially steel), may dent or bend, potentially expensive, can become hot in direct sunlight. | Occasional cleaning and touch-up of paint or powder coating as needed. |
| Composite Materials | Durable, low maintenance, resistant to rot and insects, various colors and textures. | Can be more expensive than wood, may fade over time, limited design options compared to wood. | Occasional cleaning with soap and water. |
Building a Cedar Wood Mailbox Post, Decorative Mailbox Post
Cedar wood, known for its natural resistance to rot and insects, is a popular choice for outdoor projects. Careful planning and execution are key to creating a durable and aesthetically pleasing post. The following steps Artikel the construction process:
Before beginning, ensure you have the necessary tools and understand safety precautions. This includes wearing safety glasses, gloves, and appropriate respiratory protection when working with wood and finishing materials.
- Cut the Cedar Posts: Using a saw, cut the cedar lumber to the desired length for your mailbox post. Consider the height of your mailbox and the desired overall height of the post. Ensure cuts are square and precise.
- Assemble the Post Structure: Depending on your design, this may involve joining multiple cedar pieces to create the desired shape and size. Use appropriate joinery techniques (such as mortise and tenon or dado joints) and wood glue for a strong and durable connection. Secure with screws or bolts.
- Sand and Smooth the Surfaces: Sand all surfaces to remove any splinters or rough edges. Start with coarser grit sandpaper and gradually move to finer grits for a smooth finish. This is crucial for a professional look and easy application of finish.
- Apply a Wood Preservative: Apply a high-quality wood preservative or sealant to protect the cedar from the elements. Follow the manufacturer’s instructions carefully for application and drying time. This step significantly extends the life of the post.
- Attach Mailbox and Finials: Once the preservative is dry, attach the mailbox and any decorative finials or accents. Use appropriate hardware and ensure secure fastening.
Installing a Decorative Mailbox Post
Proper installation is critical for the stability and longevity of your mailbox post. Soil type and post depth are key considerations.
The following steps detail the installation process, with descriptive text serving as illustrations.
- Dig the Hole: Dig a hole at least twice the depth of your post. For a 4-foot post, dig an 8-foot hole. The exact depth will depend on your soil type and local frost line. Imagine a cylindrical hole, wide enough to comfortably fit the post.
- Add Gravel Base (Optional): For better drainage, add a layer of gravel at the bottom of the hole. Visualize a layer of small stones filling the bottom of the cylindrical hole.
- Set the Post: Carefully lower the post into the hole, ensuring it is plumb (perfectly vertical). Imagine the post standing straight and tall in the center of the hole.
- Backfill and Tamp: Backfill the hole with soil, tamping it down firmly to eliminate air pockets. Visualize firmly packing the soil around the post, ensuring it’s tightly secured.
- Add Concrete (Optional): For added stability, especially in loose soil, consider adding concrete to the hole around the post. Imagine the concrete acting as a solid base, further supporting the post.
Placement and Integration of Decorative Mailbox Posts in Landscaping

Strategic placement of a decorative mailbox post significantly impacts curb appeal and overall landscape aesthetics. Careful consideration of driveway location, existing landscaping features, and the post’s design style ensures a harmonious and visually pleasing integration. Optimal placement maximizes visibility, accessibility, and the post’s contribution to the home’s exterior design.Choosing the optimal location for a decorative mailbox post requires a holistic approach.
The post should be easily accessible for mail delivery yet complement the existing landscape design, rather than clashing with it. Poor placement can detract from the home’s appearance, while thoughtful placement enhances it.
Driveway Location and Landscape Design Considerations
The driveway’s position dictates several placement options. A centrally located driveway might suggest placing the post at its midpoint, creating a symmetrical visual anchor. For driveways positioned off-center, placing the post near the property line, yet visible from the street, maintains accessibility while integrating it seamlessly into the landscape. For example, a post placed near a strategically planted flowering shrub can soften its presence and create a focal point.
Conversely, a post placed too close to a large tree might be obscured, while a post placed too far from the street could make mail retrieval inconvenient. Consider the flow of traffic and pedestrian movement around the post as well.
Mailbox Post Integration with Landscaping Styles
The successful integration of a decorative mailbox post hinges on its compatibility with the overall landscaping style. Different styles demand distinct design approaches.
- Formal Gardens: Formal gardens often feature symmetrical layouts and meticulously manicured plants. A classic, elegant mailbox post, perhaps crafted from wrought iron with a simple, understated design, would complement this style. The post could be positioned symmetrically to other landscape features, such as a pair of matching shrubs or garden lights.
- Rustic Landscapes: Rustic landscapes prioritize natural materials and a sense of aged charm. A wooden post, possibly weathered or with a distressed finish, would blend harmoniously. Consider incorporating climbing plants like ivy or roses to further enhance the rustic aesthetic. The post could be situated near a stone wall or a grouping of native plants.
- Contemporary Designs: Contemporary landscapes emphasize clean lines, geometric shapes, and modern materials. A sleek, minimalist mailbox post made from metal or concrete with a sharp, angular design would suit this style. The post could be placed near a low-maintenance gravel bed or a minimalist planting scheme.
Design Plan for a Front Yard Landscape Incorporating a Decorative Mailbox Post
This plan incorporates a decorative mailbox post into a front yard landscape with a cottage garden style.The chosen mailbox post is made of aged wood with a slightly curved top, giving it a charming, rustic feel. It will be placed approximately 10 feet from the street, close to the property line, ensuring easy mail access while maintaining a visually appealing distance.
A small, circular paved area, approximately 3 feet in diameter, will be created around the base of the post using natural flagstone. This creates a defined space and prevents soil erosion.The planting scheme will complement the rustic style of the post. Several lavender plants will be planted around the base of the post, providing a fragrant and visually appealing border.
These will be complemented by a mix of daylilies and coneflowers, offering bursts of color throughout the growing season. Behind the post, a climbing rose bush, selected for its fragrant blooms and ability to create a natural screen, will be trained to grow along a small, rustic wooden trellis. The trellis will be approximately 4 feet tall and 3 feet wide, providing visual interest and extending the rustic theme.
The overall effect will be a charming and welcoming entrance to the property, with the mailbox post serving as a focal point within the cottage garden aesthetic.
Creating a stunning decorative mailbox post is a rewarding project that blends creativity, craftsmanship, and careful planning. By thoughtfully considering design, materials, construction, and placement, you can transform your home’s entrance into a welcoming and visually appealing focal point. This guide has provided the tools and knowledge you need to embark on this exciting endeavor, resulting in a mailbox post that enhances your home’s curb appeal and reflects your personal style for years to come.
Remember, the details matter, from the choice of wood grain to the precise placement in your landscape—these elements combine to create a lasting impression.