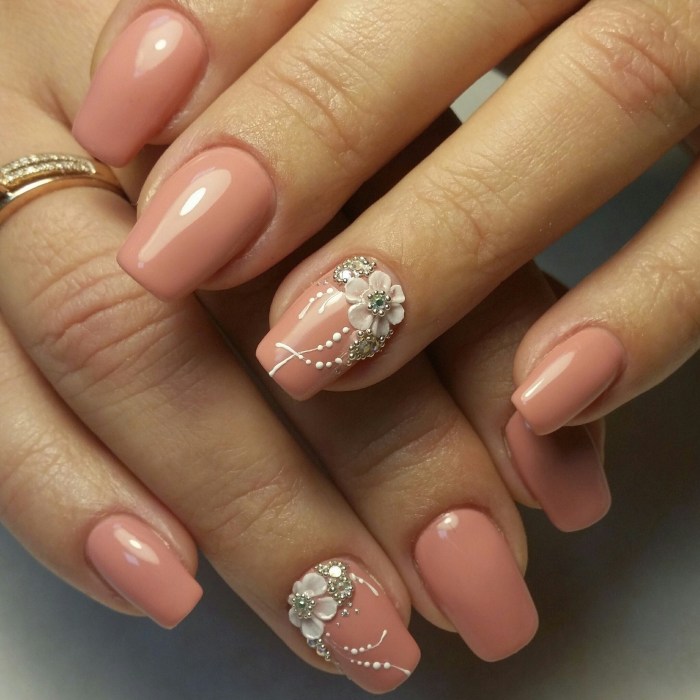
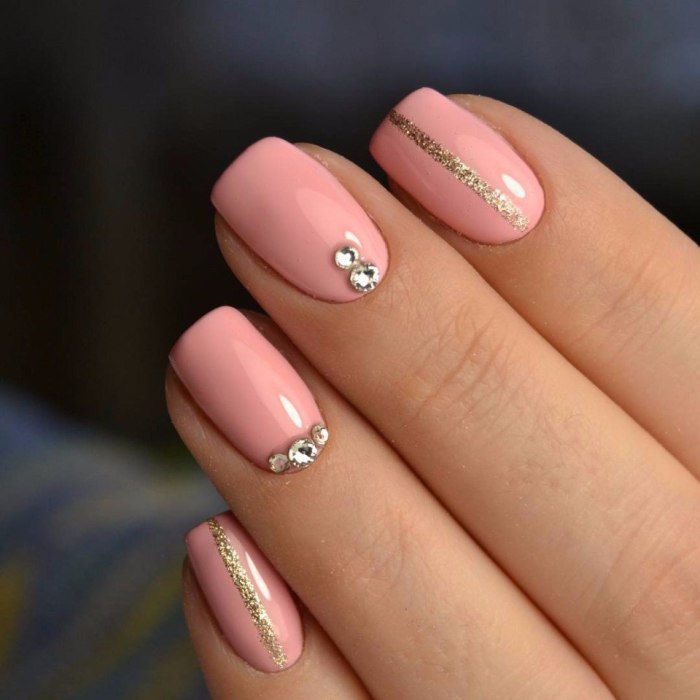
Nail Decorations are more than just polish; they’re a canvas for self-expression, a reflection of personal style, and a constantly evolving art form. From minimalist chic to maximalist extravagance, the world of nail art offers endless possibilities. This exploration delves into the latest trends, techniques, and materials, empowering you to create stunning manicures that perfectly capture your unique aesthetic. We’ll cover everything from flawlessly applying nail polish to mastering intricate designs, exploring diverse materials, and understanding the importance of nail care for long-lasting results.
Nail Decoration Techniques

Mastering nail decoration involves a blend of precision and creativity. From achieving a flawless polish application to executing intricate nail art, the techniques discussed below will elevate your manicure game, transforming your nails into miniature canvases of self-expression. This section details essential steps and methods to achieve professional-looking results at home.
Flawless Nail Polish Application and Longevity
Applying nail polish flawlessly requires preparation and technique. Begin with clean, dry nails. Push back your cuticles gently using a cuticle pusher, avoiding aggressive scraping. Apply a base coat to protect your nails and improve polish adhesion. This should be a thin, even layer, allowing it to dry completely.
Next, apply two thin coats of your chosen nail polish color. Each coat should be applied smoothly, starting from the base of the nail and sweeping towards the tip in long, even strokes. Avoid thick applications, as this leads to smudging and chipping. After the final coat dries, seal the manicure with a top coat for added shine and durability.
For a longer-lasting manicure, consider using a high-quality base and top coat specifically designed for extended wear. Additionally, avoid using your nails as tools, and always use a protective glove when washing dishes or cleaning to maintain the integrity of your manicure.
Intricate Nail Art Designs Using Simple Tools
Creating intricate nail art doesn’t require expensive equipment. Simple tools like dotting tools, toothpicks, and even bobby pins can produce stunning designs.
Five methods for achieving intricate nail art using simple tools are described below:
- Dotting Technique: Dip a dotting tool into nail polish and create dots of varying sizes and colors to form patterns like polka dots, flowers, or animal prints. Experiment with different sized dotting tools for diverse effects.
- Toothpick Method: Use a toothpick to create thin lines, swirls, and intricate details. This is ideal for creating delicate floral designs or geometric patterns.
- Tape Art: Apply thin strips of painter’s tape to create geometric designs. Paint over the tape with different colors, and carefully remove the tape once the polish dries. This technique creates sharp lines and clean shapes.
- Sponging Technique: Dab a makeup sponge into several colors of nail polish and gently press it onto your nail to create a textured, marbled effect. This method works well for creating abstract designs or ombré effects.
- Water Marble Effect: Pour different colors of nail polish onto a container of water. Use a toothpick to create swirls and patterns. Dip your nail into the water to pick up the design, then seal with a top coat. This produces unique and visually striking results.
Nail Wrap Application and Removal
Nail wraps offer a quick and easy way to achieve a professional manicure. However, the longevity and ease of application vary depending on the type of wrap used. Below is a comparison of four common types.
| Wrap Type | Ease of Application | Longevity | Removal |
|---|---|---|---|
| Gel Nail Wraps | Moderate; requires a UV/LED lamp for curing. | High; can last up to 2-3 weeks. | Requires soaking in acetone. |
| Foil Nail Wraps | Easy; simply apply and adhere. | Low; typically lasts a few days. | Can be peeled off easily. |
| Sticker Nail Wraps | Easy; apply like a sticker and smooth out. | Moderate; can last up to a week, depending on activity level. | Can be peeled off easily. |
| Press-on Nail Wraps | Easy; apply pre-shaped nails with adhesive tabs. | Moderate; longevity depends on adhesive strength and wear. | Can be removed easily by gently peeling or soaking in warm water. |
Nail Decoration Materials: Nail Decorations

Creating stunning nail art requires a diverse range of materials, each playing a crucial role in achieving the desired look and finish. Understanding these materials and their properties is key to mastering nail decoration techniques, whether you’re a beginner or a seasoned professional. This section will explore various nail polish finishes, essential tools, and a comparison of gel and traditional nail polish.
Nail Polish Finishes, Nail Decorations
Different nail polish finishes offer unique aesthetic qualities and impact the overall look of the nail art. Choosing the right finish is crucial for complementing the design and achieving the desired effect.
- Glossy: This classic finish provides a high-shine, reflective surface. It’s versatile and works well with most nail art designs, adding a polished and sophisticated touch. Application involves applying thin, even coats, allowing each coat to dry completely before applying the next.
- Matte: Matte finishes offer a smooth, non-reflective surface, creating a modern and understated look. They are particularly effective for minimalist designs or creating a striking contrast with other finishes. Application is similar to glossy polish, ensuring even coverage.
- Shimmer: Shimmer polishes contain fine particles that reflect light, creating a sparkling effect. They add a touch of glamour and can be used to accentuate designs or create a subtle, shimmering base. Application may require slightly more care to avoid uneven distribution of shimmer particles.
- Metallic: Metallic polishes offer a strong, reflective finish with a pigmented metallic look, often mimicking the appearance of metals like gold or silver. These polishes are excellent for creating bold statements and adding a luxurious feel. Application often benefits from using thin coats to avoid a clumpy appearance.
- Crackle: Crackle polishes create a unique textured effect by cracking as they dry, revealing a base color underneath. This creates a visually interesting, almost broken-glass effect. Application involves applying a base coat, then the crackle polish, allowing it to dry completely to observe the cracking effect.
Essential Nail Decoration Tools and Materials
The tools and materials required for nail decoration vary depending on the complexity of the design and the artist’s skill level. Organizing these materials effectively can streamline the creative process and ensure efficient work.
Beginners:
- Base coat: Protects the nail and improves polish adhesion.
- Top coat: Seals the design and adds shine or a specific finish (e.g., matte).
- Nail polish remover: For correcting mistakes and cleaning up.
- Cotton swabs: For precise cleaning and detail work.
- Variety of nail polish colors: Experimentation is key to developing a personal style.
Advanced Nail Artists:
- UV/LED lamp (for gel polish): Cures gel polish, essential for gel nail art.
- Nail art brushes (various sizes and shapes): Allows for precise detail and intricate designs.
- Nail art stencils: Creates consistent and intricate patterns.
- Nail art decorations (e.g., rhinestones, glitter, foils): Adds embellishments and texture to designs.
- Dotting tools: Creates dots and other small details efficiently.
- Acrylic powders and liquids (for acrylic nails): Allows for nail extensions and sculpting.
Gel Nail Polish vs. Traditional Nail Polish
Gel and traditional nail polishes differ significantly in their application, durability, and overall characteristics. Understanding these differences is essential for choosing the right product for specific needs and desired longevity.
Gel nail polish requires a UV or LED lamp to cure, resulting in a significantly more durable and chip-resistant finish than traditional nail polish. Gel polish typically lasts for two to three weeks, while traditional polish may chip within a few days. However, gel polish requires specialized tools and removal techniques, which can be more time-consuming and potentially damaging to the natural nail if not done correctly.
Traditional nail polish is easier to apply and remove, offering greater flexibility but shorter longevity.
Ultimately, the beauty of nail decorations lies in their versatility and ability to adapt to individual preferences and evolving trends. Whether you prefer a subtle, minimalist look or a bold, maximalist statement, mastering the techniques and understanding the materials will unlock a world of creative expression. By incorporating proper care and maintenance, you can ensure your nail art remains vibrant and captivating for weeks to come.
So, unleash your inner artist and embark on a journey of nail art exploration!